


Sage is one of the more distinctive agents in VALORANT, but getting the most out of her abilities requires practice and good decision-making.
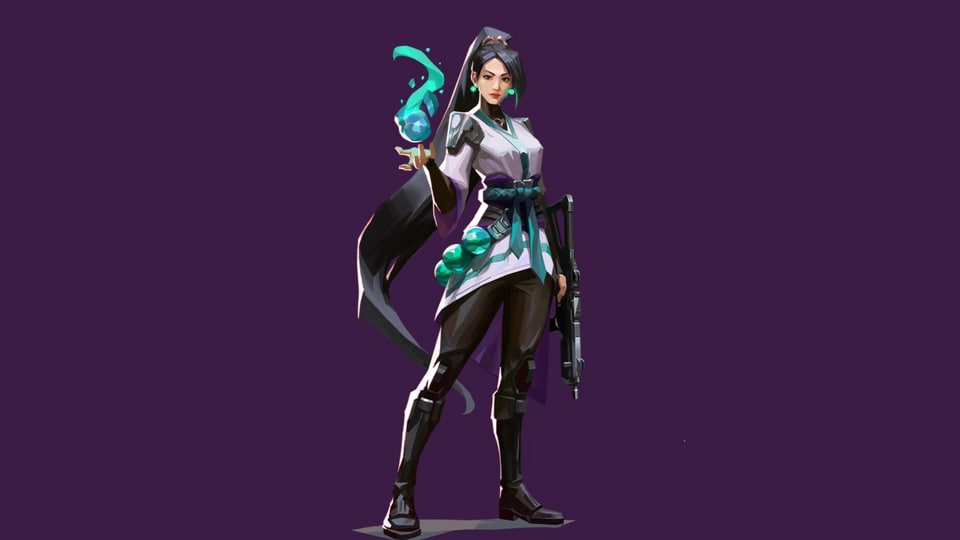
Although she belongs to the Sentinel class, Sage offers much more than traditional defensive utility.
Her versatility makes her valuable in several situations, yet using her abilities at the right moment can be difficult for less experienced players. Here’s how you can maximize Sage’s impact in the 2026 meta.
Breaking down Sage’s abilities
Barrier Orb
Sage’s C ability is among the most expensive abilities in the game, but its defensive value can justify the cost.
The Barrier Orb can bring an enemy push to a standstill and potentially give your team enough time to recover from a difficult situation.
Each section of the wall has 800 health, meaning opponents can eventually break through it. However, destroying the barrier takes time and ammunition while disrupting their movement and positioning. That delay can give your team an opportunity to regroup and prepare a response.
The Barrier Orb has several other useful applications. You can place it across entrances to deny access, use it as temporary cover or even stand on it to reach elevated positions and catch opponents off guard.
Slow Orb
Sage’s Slow Orb is particularly effective for controlling narrow areas and choke points. Rather than using it without a clear purpose, try to coordinate it with your teammates’ abilities.
Also read | Call of Duty beta redeem: Step-by-step guide on getting, redeeming and fixing code issues
A well-timed Slow Orb can leave opponents vulnerable to damage from abilities such as Raze’s grenades or Brimstone’s molotovs.
Healing Orb
Healing Orb is one of Sage’s simplest abilities, allowing her to restore health to herself or an injured teammate. The healing effect gradually brings the selected player back toward full health.
Resurrection
Sage’s ultimate, Resurrection, can completely change the outcome of a round by bringing a fallen teammate back into the fight.
While it can be tempting to immediately revive the first teammate who dies, patience can often produce a better result.
A resurrection in a favorable situation, such as a late-round 2v1, can give your team a major advantage and potentially turn a difficult round around.
Tips for Sage on Attack
Save your Barrier Orb: Hold the wall until the Spike plant to block defenders’ vision and make them spend resources breaking it.
Use other abilities freely: Healing Orb and Slow Orb can be deployed more often while your team pushes toward the site.
Adapt after taking site: Once your team has control, use the wall to seal choke points, slow retakes or create unexpected angles.
Tips for Sage on Defense
Time your Barrier Orb: Avoid placing the wall too early. Wait until the enemy commits to an attack to get maximum value.
Split enemy pushes: Place the wall behind an advancing opponent to separate them from their teammates and create an easy target.
Also read | How to get the Kernel Hearts Fernet skin for free in Fortnite: Epic Games Store step-by-step guide
Use the wall for intel: Block a choke point and monitor whether enemies attack the barrier. Their response can reveal their movement and help your team adjust.
Tricks to master Sage
Mix up your walls: Avoid relying on the same Barrier Orb spots. Try unusual angles and boost walls to create unexpected sightlines and catch enemies off guard.
Protect yourself while resurrecting: Resurrection leaves Sage exposed, so use cover, Slow Orbs and walls to protect yourself while bringing a teammate back into the round.
Use self-heal aggressively: With Sage’s self-heal increased from 50 to 100 HP in Patch 13.00, you can take more calculated risks. Just communicate your positioning so teammates can support you.


